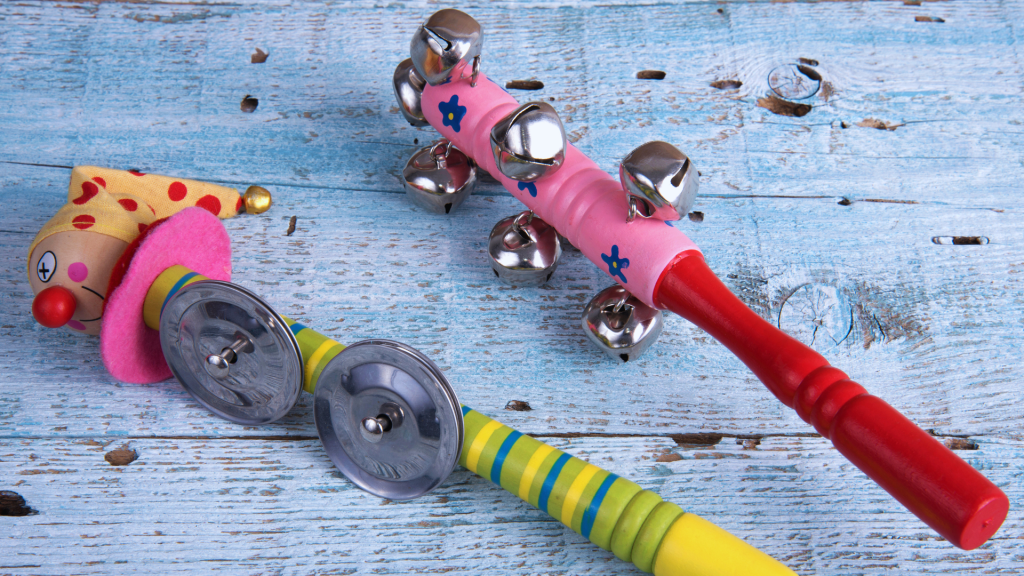
Finding music in everyday life can be a rewarding experience. Many people don’t realize that they can create homemade musical instruments using common household items. This guide will show how to transform items like bottles, rubber bands, and cardboard into instruments that produce sound and engage creativity.
Crafting instruments not only fosters creativity but also enhances fine motor skills. As individuals assemble their instruments, they refine their hand-eye coordination and dexterity. From maracas made with rice-filled containers to string instruments fashioned from boxes and string, the possibilities are endless.
Exploring the world of homemade musical instruments opens up new ways to enjoy music-making. Individuals of all ages can partake in this fun activity, and it encourages experimentation and discovery. With just a few simple materials, anyone can become a musician in their own home.
Getting Started with Homemade Instruments
Creating musical instruments from household items is an engaging way to explore creativity and sound. This process involves understanding basic principles, gathering suitable materials, and considering safety while working on DIY projects.
Understanding the Basics
Homemade instruments can be made using various materials, including recycled items. Familiarity with basic sound principles can enhance the design.
For wind instruments, consider tubes or bottles that produce sound through air movement. Percussion instruments can be crafted from boxes or containers that resonate when struck. String instruments might use items like rubber bands stretched across a box for a simple version.
Knowledge of how sound is generated can help in fine-tuning the instrument’s design for better quality.
Gathering Materials
When crafting instruments, find suitable recycled materials and common household items.
Common Items to Consider:
- Containers: Empty bottles, jars, and boxes for percussion.
- Rubber bands: Useful for string instruments.
- Straws: Can be used to create wind instruments.
- Wooden spoons: Great for beat-making.
Exploring different textures and materials can lead to unique sounds. Engaging with local recycling initiatives can also supply fresh materials while promoting sustainability.
Safety Considerations
Safety is essential when creating DIY musical instruments.
Key Safety Tips:
- Use scissors and cutting tools carefully to avoid injury.
- Ensure no sharp edges are left on instruments. Sand down rough areas if needed.
- Supervise children closely when handling small items or tools.
Understanding safety ensures a positive and injury-free crafting experience. Being mindful of these precautions creates a safer environment for creativity.
Creating Percussion Instruments
Creating vibrant percussion instruments from household items is a rewarding activity. Simple materials can produce a variety of sounds, encouraging creativity and musical exploration.
Crafting Shakers and Maracas
Shakers and maracas are easy to make with items like plastic eggs, rice, or beans. To create an egg maraca, fill a plastic egg half full with rice or small beads, then secure it with tape.
For a more durable option, consider using a clean, empty bottle. Fill it with various items such as buttons or dried pasta. Seal the cap tightly and decorate the bottle with paint or markers.
Shakers can also be made by filling containers, such as jars or tin cans, with pebbles or other small materials. Ensure that the lids are secured to prevent spills during play.
Making Drums and Tambourines
Drums and tambourines can be constructed from items like balloons, paper plates, or tin cans. Start by making a balloon drum: stretch a balloon over the opening of a tin can and secure it with a rubber band. This creates a taut surface for drumming.
For a paper plate tambourine, take two paper plates, add dried beans or coins between them, and staple or tape them together. This tambourine can be decorated for personal flair.
Another option is to use a cardboard box as a drum body. Cover one side with a piece of parchment paper and tape it down to create a larger drum.
Assembling Xylophones and Chimes
Xylophones and chimes can be made from various materials such as glass bottles or wooden dowels. For a rainbow xylophone, collect bottles of different sizes and fill them with varying amounts of water. Tapping the bottles will produce different musical notes.
Alternatively, wooden dowels can be cut to different lengths and strung together on a sturdy frame. Attaching them with rubber bands allows them to vibrate freely when struck.
For chimes, use metal bottle tops strung together on a piece of string, creating a delicate sound when tinkled. This simple construction adds an elegant touch to any homemade instrument collection.
Constructing Wind and String Instruments
Creating wind and string instruments using household items can be both fun and educational. Simple materials can produce delightful sounds with a bit of creativity and craftsmanship.
Designing Simple Wind Instruments
Wind instruments can be easily made from common items. For example, a kazoo can be crafted using a tube and some wax paper. Simply cut a piece of wax paper to cover one end of the tube and secure it with a rubber band. The player hums into the open end to create sound.
Another popular wind instrument is the didgeridoo, which can be represented by a long cardboard tube. Players can use their lips to create vibrations, producing deep, resonant tones. Pan flutes can be made by cutting straws to different lengths and securing them together. Each straw acts as a pipe, producing different notes when blown.
Building String Instruments from Scratch
String instruments are also achievable with household items. A cardboard guitar can be made using a cardboard box as the body and rubber bands for strings. Stretch the bands across an opening in the box to create tension for sound production.
A tissue box guitar follows a similar principle, using an empty tissue box as the body. A cardboard ukulele can be constructed similarly to the guitar. A box violin can be created from a small box and strings attached to a wooden rod for the neck. For a popsicle stick harmonica, two popsicle sticks can hold a piece of wax paper in place, allowing for a unique sound when blown into. Lastly, a mini lid banjo can be made using a lid and strings, creating a compact and playable instrument.
Final Touches and Play Techniques
This section focuses on personalizing DIY instruments, learning proper techniques for play, and the maintenance necessary to ensure longevity. Attention to detail in these areas enhances both the playability and enjoyment of homemade musical items.
Customizing Your Instruments
Customization adds uniqueness to each instrument. For a homemade guitar, consider painting the body or adding stickers for visual appeal. A trumpet made from a plastic bottle can be jazzed up with colorful duct tape or markers.
Sound quality matters, too. Tuning instruments can be achieved through adjusting materials and dimensions. For a kazoo, altering the membrane can change the tone.
Lastly, decorative elements like embellishments or personalized engravings make the instrument more relatable. Children enjoy this creative process, which helps enhance their fine motor skills while making music.
Learning to Play Your DIY Instruments
Proper techniques can make playing more enjoyable. For instance, when learning to play a guitar, positioning fingers correctly on the fretboard is crucial. She or he should practice strumming patterns or fingerpicking to develop skills.
Using online tutorials can guide beginners through basic melodies. For brass instruments like a homemade trumpet, mastering breath control and embouchure is vital. Simple songs offer a great starting point for practice sessions.
Encouraging kids to play together can enhance collaboration and musical awareness. Group play sessions can foster social skills while they learn rhythm and harmony, making music an engaging group activity.
Maintaining and Storing Your Instruments
Proper maintenance keeps DIY instruments in good condition. Regularly check for wear and tear, especially on items like rubber bands on string instruments. Replacing worn parts ensures consistent sound quality.
Cleaning is also important. A damp cloth can remove dust and grime from wood or plastic materials. Instruments should be stored in a climate-controlled space to prevent warping or damage.
For easy storage, consider dedicated cases or racks that protect them from harm. Labeling storage areas can help with organization, especially for children learning to care for their instruments. With the right attention, homemade instruments can continue providing joy for years to come.